How do I create custom data fields?
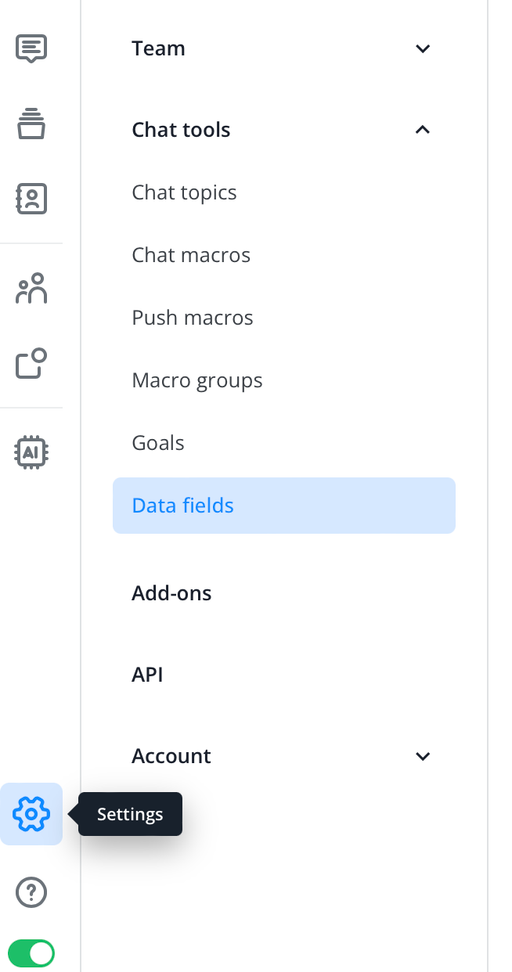
Start in the Userlike Message Center and select the small "gear" icon in the left-side menu. Click on the field "Chat tools" and choose the menu item "Data fields".
In the first tab "Contact fields" you can define the individual fields by contact level and see the order they're in.
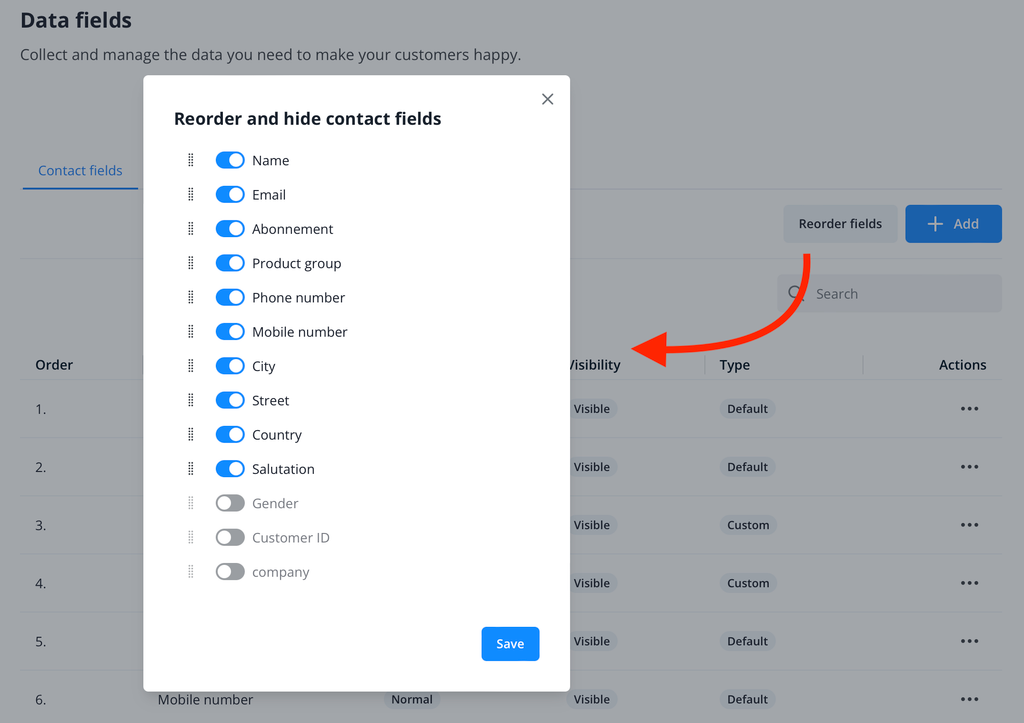
In the overview you can set the priority of the already defined standard fields via the three-dots menu, and also set their visibility:

You can manually edit Custom fields and display their IDs.
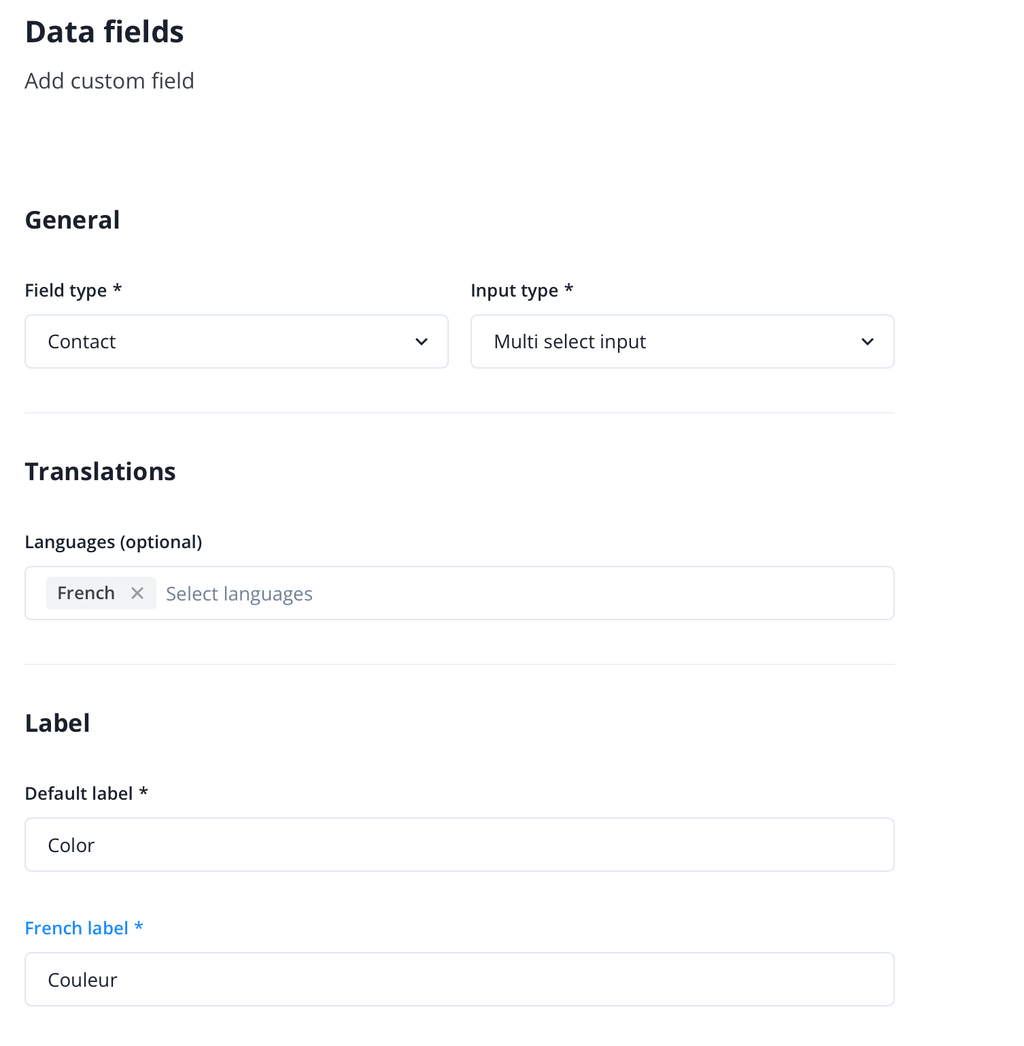
Clicking on "+Add" opens an overview where you can specify the field type (contact or conversation field) and the input type.
Input types:
- Text input: Here you can specify the minimum and maximum length of the content. That way the field can be validated.
- Number input: Here you can define how many digits the number must have.
- Single & multiple selection: Create different options which include their translation. Please select a default option.
Attention:
If you delete data fields, all data linked to the field is permanently lost. This action cannot be undone. Please make sure you back up any important information before deleting a field.
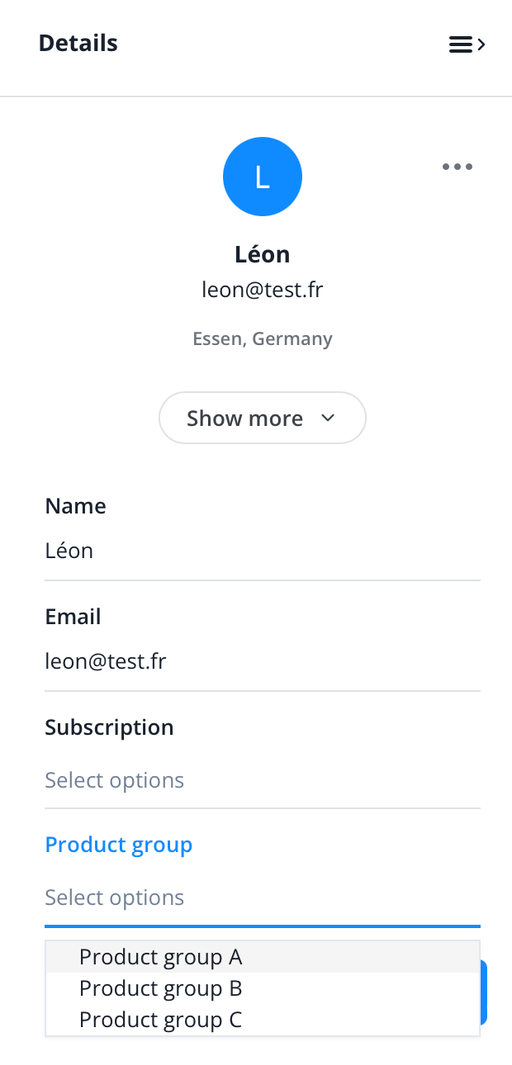
How do the custom data fields look like in the Userlike Message Center?
In the Message Center, fields that have a priority set as "important" are displayed by default in the contact details. Other fields can be expanded by clicking on "Show more".
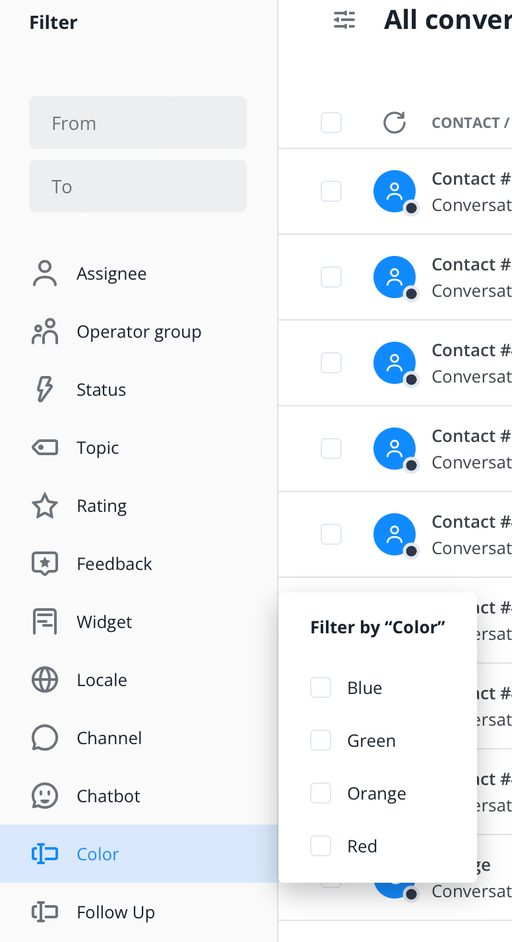
Can I filter by custom data fields?
Yes, it is possible to filter by custom fields (single or multiple selection) in the Message Center. This works in the contact overview and in the "All conversations" overview.